Wednesday, 9 April 2014

Rum&Raisin Chocolate Cookies...You Are My Sin


If there's one flavour combination that always gets me jumping up and down whilst clapping my hands, it's the good old Rum and Raisin.
I like the chewy sweetness followed by the alcoholic kick, and when you fold this into chocolate cookie dough, well, there are no words....
Except of course there are....


Words like...
Bittersweet beauties that melt and crumble, to be devoured with haste whilst you moan and mumble.

These cookies are not for the faint of heart. They contain no flour so the cocoa powder and rum become very intense. If you love the darkest of dark chocolate you'll love these just fine. The raisins do sweeten them up nicely though, so if you're more of a milk chocolate kinda gal, don't be too afraid to come join us on the dark side. 


They are simply wonderful all by themselves, and I was tempted to leave them naked....that was until I made a batch of caramel....and I thought, I wonder?
So I did end up drizzling the rest of my batch with vanilla caramel, but only a little...


The taste was unbelievable, if you like sweet liquors then you'll be on board faster than you can say RUM CARAMEL.
If you like the more bittersweet chocolate side of life then maybe keep them as they are.


So here you are, fresh from the oven...gooey and oh so tempting...ENJOY!

My Only Sin, Rum & Raisin Chocolate Cookies

Ingredients

Makes about 10 cookies

2 oz Coconut oil
1 oz Caster sugar
1 oz Dark brown sugar
1/2 Banana
A good splash of vanilla extract
Handful of raisins
3 oz Cocoa powder
1 tsp Ground ginger
Pinch of baking powder
Pinch of bicarbonate of soda
Good pinch of salt
1 1/2 tsp Espresso powder
1 Shot of dark rum - make it a double if you're feeling lucky!

These are so simple to make....

Begin by mixing the sugar with the coconut oil, then add the banana and use a fork to mash it up and mix it in well.

Add the vanilla and raisins and give it a good stir. You could probably add chocolate chips at this stage too, although that would take these cookies into PLANET CHOCOLATE territory.

Sift in the cocoa powder, salt, ginger, espresso powder, baking powder and bicarbonate of soda.

Mix it thoroughly to combine all the fry ingredients into the wet.

Now just grab a little of the dough - it will be quite sticky - and roll it into a ball and then flatten it in your palms.

Pop them on a greased baking tray and bake at 180 C for about 10-12 minutes - if you take them out at 10 minutes they'll be more gooey and soft, but I left mine in for that extra few minutes to firm them up a bit.


And there you go! I made a very small batch of caramel to drizzle over mine, because T has a very sweet tooth...
I used...

4 fl oz Coconut milk
1 oz Sugar
Pinch of salt

Just simply warm the milk through, add the sugar and stir until the sugar has dissolved and then simmer until the syrup has reduced down and is thick. Then stir in the salt and leave to cool slightly before pouring over the cookies.


Hope you love them as much as I do! 

Happy baking! x


Friday, 4 April 2014

Blueberry Creme You Saucy Little Thing You!


A little while ago I gave you lovely lot a recipe for Lemon Creme and I loved how it turned out, so thought why not make a blueberry version? Because blueberries completely rock my world through the summer months. They're sweet and juicy and best of all they make everything purple! 


The other reason for me making this marvelous little pot of sauce, is that I needed a creme to sandwich together two chocolate  cookies.... but more on that later! 
This blueberry creme is just as easy to make as the lemon version, I've tried it with both frozen and fresh blueberries, and the only difference I found was the colour. The fresh ones came out a darker purple, pictured above. The frozen berries came out slightly lighter, although a few raspberries may have sneaked into the pan too, so they may have something to do with the more pink colour.


This blueberry creme can be used for pretty much anything you damn fancy. 

Blueberry Jam for scones and toast

Blueberry Sauce for porridge and pancakes

Blueberry Creme for pastry tarts and sandwich cookies

Need I go on...?


So here ya go folks....

Blueberry Creme

Ingredients

4 fl oz Coconut milk
2 fl oz Water
2 oz Agave syrup/sugar
1 oz Blueberries
2 tbsp Arrowroot powder
Splash of lemon juice
4 tbsp Coconut oil

All you need to do is...

Stir the coconut milk, water and arrowroot powder together over a low heat until it's all dissolved and combined.
Add the sugar and blueberries and stir until the sugar has dissolved and the blueberries are starting to break apart.
Now simmer the mixture for about 5 minutes to allow it to thicken.
Remove from the heat and allow it to cool slightly before using a hand blender to blend it until it's smooth and not stringy.
Once blended, return to a low heat and add the coconut oil, stirring until it's melted into the blueberry mixture.
Now use a whisk to beat it until it's smooth and glossy.

Simple ay?


Transfer it to a jar and let it sit in the fridge to set slightly. The creme won't go completely solid, but it will thicken and become less liquid.
This just makes it easier to spread onto cookies and tarts, if you would prefer a more liquid syrup, simply leave out the coconut oil.


So, if you can restrain from eating the whole lot with a spoon whilst you're stood in the kitchen and think nobody's watching, then you can use this recipe for the Chocolate&Blueberry Cookies recipe I'm going to share with soonly!
They really are divine...


Enjoy the blueberry-ness of it all and happy baking! x


Thursday, 3 April 2014

Espresso Chocolate & Salted Caramel Tart


The name does not give this tart justice.
In my head I call it The Come Hither Tart, because it calls to you. As soon as you eat one piece you immediately want another and another until the entire tart is gone...and then you just know you'll bake another before the weeks end.


This tart is made for lusting after and to be devoured with greed and gluttony.


I don't bake a lot of chocolate tarts, mainly because I CAN NOT stop eating until it has all gone. 
T and I ate one piece respectfully, after dinner sat at the table...then we had another whilst laying on the sofa, cleaning the chocolate from the plates with our fingers...every time one of us walked past the tart we'd slice a but more off, not even bothering with plates now, just eating it from our hands...and then it ended in us gorging on the last few mouthfuls, the chocolate smeared over our faces and the caramel sticking in my hair....we were a mess.
A delicious mess.  


So here's the recipe for the tart of your dreams...

Espresso Chocolate & Salted Caramel Tart

Ingredients

This recipe makes enough for one 7" tin and four 3.5" tins - simply halve the recipe to make just one tart

FOR THE CRUST

10 oz Almonds - Toasted and then ground
3 oz Hazelnuts - Toasted and then ground
2 tbsp Coconut oil
Large pinch of salt
2 tbsp Agave syrup
A good splash of lemon juice
1/2 tsp Ground cardamon 

FOR THE CARAMEL

1 Can of coconut milk 
3 oz Brown sugar/agave syrup
Good pinch of salt

FOR THE FILLING

1 Can of coconut milk
3 tbsp Agave syrup
2-3 tsp Arrowroot powder
1 tsp Vanilla extract
Shot of espresso
200g Dark chocolate
Pinch of salt


Begin by getting your caramel started...

Pour the can of coconut milk into your favourite milk pan, add the sugar and warm gently until the sugar ha dissolved.
Then turn up the heat so that it's simmering and let it simmer away for around 40 minutes - 1 hour, until it reduces and becomes very thick. The time will vary depending on what brand of coconut milk you buy and how high you have your heat. I try to keep my heat low so that I don't have to keep stirring it and I have my hands free to prepare the rest of the tart.

Now you can lay almonds and hazelnuts onto a baking tray and toast them for 3-5 minutes, until the almonds are golden inside and the hazelnut skins have cracked.
Grind them up so they look like breadcrumbs - but be careful not to over blend because then they'll start sticking together!

Save a handful of hazelnuts to scatter on top of the tart later.

Mix the ground nuts with the salt and cardamon.
Then add the oil, syrup and lemon juice and give it a good mix.
It should start to clump together to form a dough - you may need to add 2-3 tbsp of cold water to help it come together.

Press the crust mixture into your tin and chill it in the fridge for about 20 minutes.
Then bake it in the oven at 180c until it begins to brown - about 15-20 minutes.

Remember to keep an eye on your caramel! Give it a stir every now and then to check the thickness, once it's thickened up but your still able to pour it, remove it from the heat, stir in the salt and leave it to cool down. 

Whilst your crust is in the oven, get making the chocolate filling! - Once your crust is baked, leave it in the tin but place it on a wire rack to cool.

Pour the can of coconut milk into your pan, add the syrup and arrowroot powder and heat gently until the powder and sugar has dissolved and thickened slightly.
Now bring it to the boil and simmer for 2-3 minutes.

Meanwhile...

Break up the chocolate into small chunks and get your espresso shot ready.

Now, remove the coconut milk mixture from the heat and add the chocolate, stirring until it has all melted and combined into a wonderful chocolate-y ganache.
Now add the espresso, vanilla and salt and use a whisk to beat it until it's smooth and glossy.

Place the ganache and crust in the fridge for a few minutes, just to cool off. - If you're not in a rush to gobble everything then you can leave it by a window with a cool breeze instead.


Now the fun part!

To assemble...

Spread the caramel in a thick layer over the crust - don't be shy with it!


Pour the ganache over the caramel and scatter some hazelnuts over the top.
Pop it in the fridge for a few hours to set and firm up.


And there you have it! Eat it with additional caramel sauce drizzled over it for extra naughtiness, or coconut whipped cream, or even chocolate sauce for the pure chocoholics out there!


I dare you to make it last 2 days....

Happy baking! x


Wednesday, 26 March 2014

Saucy Little Lemon's Gone Sweet


Lemons. Depending on what mood you're in at the time, when life throws you a big heap of lemons, you can do one of many things;

 sigh and daintily begin making lemonade to sip on whilst you ponder, 
declare how much you liked lemons anyway and stubbornly eat your way through the whole lot,
begin shouting loudly using lots of obscenities whilst biting the lemons, drinking tequila and licking salt,
or roll up your sleeves, grab your wooden spoon and begin grating and juicing and stocking your cupboards with spreads, jams and sauces...

...just to name a few.


Now, I'm a chocolate lover, a strawberry eater, a blackberry picker, a coffee drinker and a hazelnut cruncher. I am not known as a lemon muncher.
But hey, a girl can change.
My brother however, is a lemon lover. His favourite cake in the world is Lemon Drizzle. Lemon Drizzle?! 
In the past I have made him chocolate cakes, usually 6 layers tall and smothered in thick gooey ganache, with chocolate dripping from every surface and toasted almonds and hazelnuts scattered and strawberries nestled and even truffles on top....
But no. The simply little lemon cake still won.
So this year I decided to bake some cake that HE would actually love, not just me...


His actual birthday was in February but he's been away so we celebrated yesterday. I couldn't transport a big birthday cake so instead I baked Lemon and Raspberry Cupcakes. 
Now, unfortunately I didn't get chance to take any pictures before they were all gobbled up, bad blogger. 
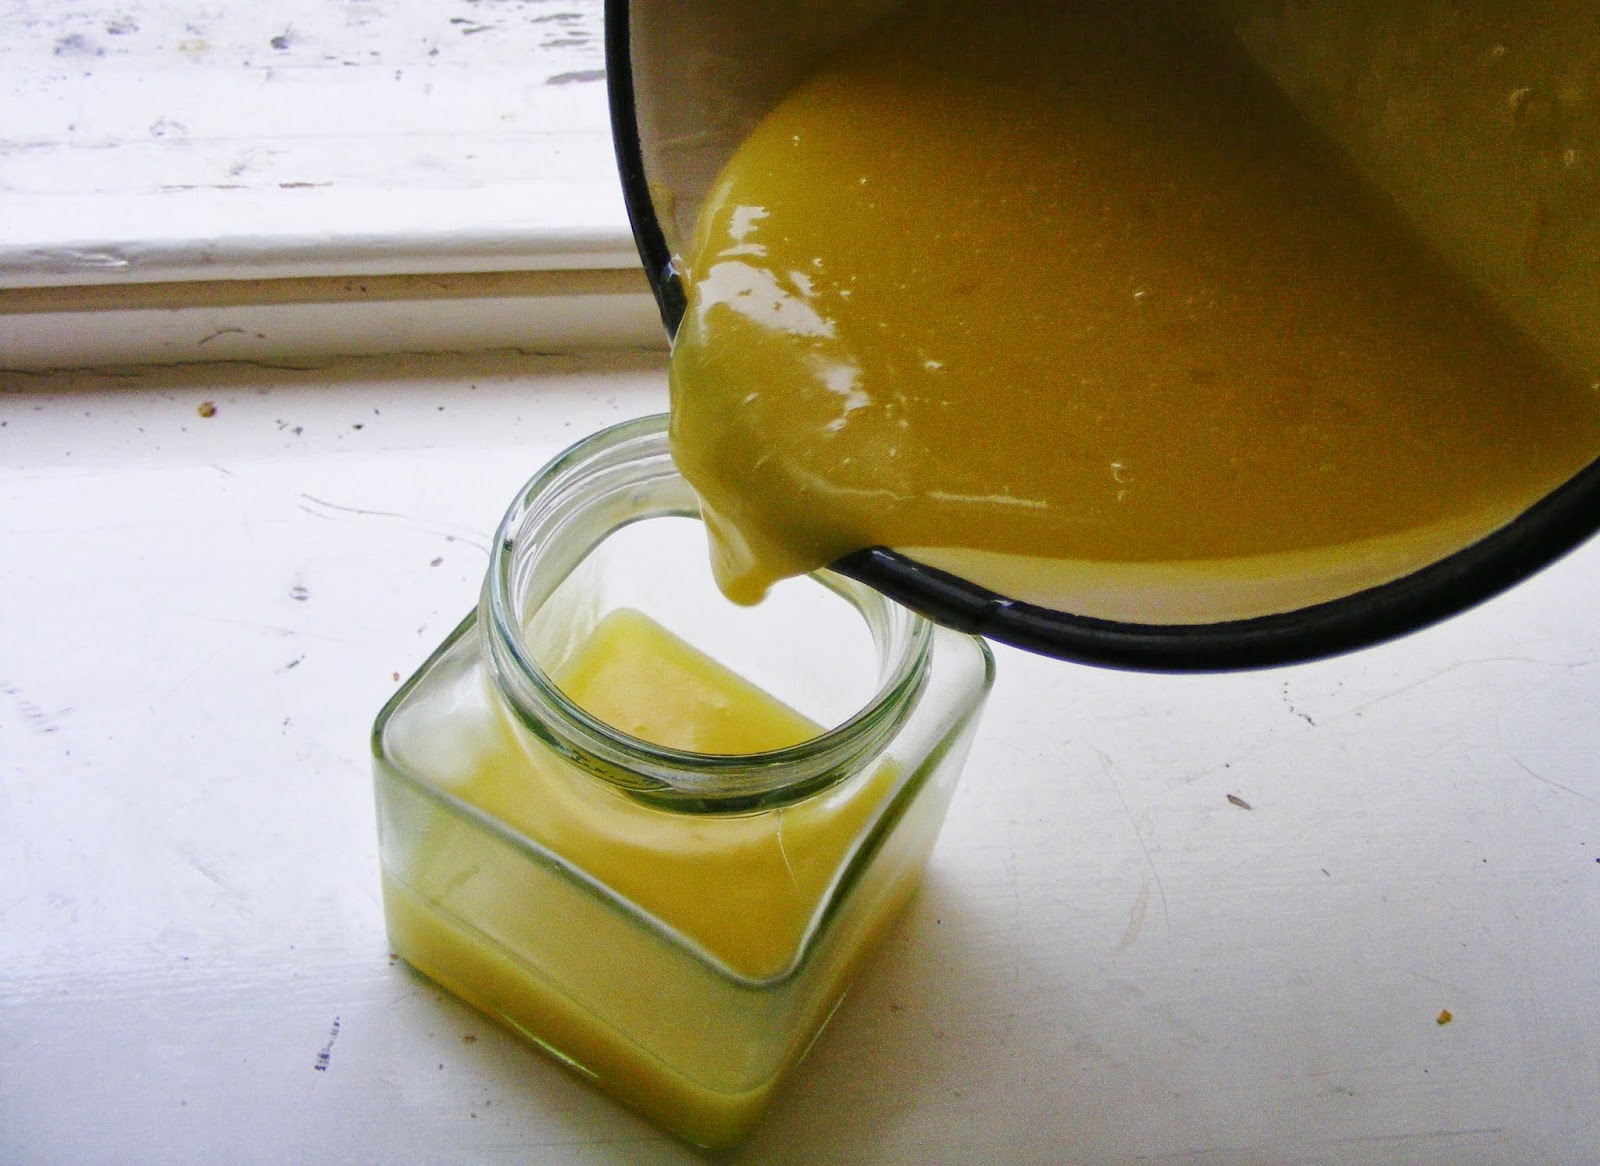
BUT I do have this wonderful recipe for Lemon Sauce that I used to fill and drizzle over the cupcakes.

I was thinking about how I make lots of sauces that start off using coconut milk as a base. So I used the same sort of method; simmering coconut milk with sugar and arrowroot powder to thicken, and then just instead of adding chocolate or vanilla, I added lemony stuff. Winner. 
I think this could be made into lemon curd too, it would just need an ingredient that would set it, because this stays liquid.


Sweet Lemon Sauce

Ingredients

Makes just under a pint

1/4 Can of coconut milk - shake well so the cream and liquid are combined.
2 fl oz Water
2-3 oz Sugar - depending on how sweet/tart you like it
Juice of one large lemon
Zest of one large lemon
2 tbsp Arrowroot powder
Little pinch of turmeric - for the colour

All you need to do is....

Warm the coconut milk, water and arrowroot powder in a little pan, stirring until the powder is dissolved.
Now add the sugar, lemon zest, lemon juice and turmeric and stir.
Simmer for around 2-3 minutes.
Now remove from the heat and using a whisk, beat the mixture hard, until it is smooth and glossy.
Now, pop it on the side and leave to cool a little bit, and yes you're probably wondering why when you dip your spoon into it it resembles weird, stretchy gunk.
Do not fear! It's the arrowroot that's doing that!
So, simply grab your hand held blender and blend blend blend for about 30 seconds.
And there you are! Pourable, drizzly yummy sweet lemon sauce.


Happy baking! x


Monday, 17 March 2014

Cardamon Spiced Plum&Chocolate Brownies


Be a doll and grab me a brownie...

It's Monday morning, most of the glitter from the weekend got washed from your skin in your rushed shower, some more shimmered down your coat and off your fingertips as you hurried to work and then the last of it fell to the ground when you glanced at the clock and it read 10 o clock.

Well, you need a brownie and you need one fast.
But don't just go and grab any old brownie! When you get home, bake these little lovelies...
Cardamon Spiced Plum&Chocolate Brownies
Why?
Because baking will soothe your soul and ease your stressed mind, the cardamon spice will warm your tired body, the plums will be juicy and sweet and remind you that Spring is on it's way, and the chocolate, well, it's chocolate isn't it? 


Brownies aren't something that have always been in my life. Shocking, I know.
They were just never around in my parents house when I was growing up. Sweet pies? Yes. crumbles? Oh most definitely. Cakes and cookies? Oui.
But brownies never seemed to make an appearance, in fact I think I was 18 before I had my first brownie! 
It was in Brighton, from a cafe near the seafront. I was with C and his sweet tooth was almost as bad as mine. We had already devoured popcorn at the cinema and candyfloss from the pier when we spotted the cute little cafe. We went in for coffee and came out with two brownies wrapped up in a napkin. They had looked so soft and gooey, just sat on the shelf behind the glass window.
C had asked if I wanted one and I had beamed back at him.
It had tasted glorious.
I made C promise to bring me back a stack of them when he next came home, but alas, the cafe changed their menu and never seemed to make them again.


So I forgot all about them.
And it was a few years until I ate another.

It wasn't until recently that I decided to bake some, I'm not sure why I hadn't tried it before. I think I just assumed that without the egg in the mixture they just wouldn't have the right texture. But boy was I wrong!
And now that I know the secret to wonderfully gooey brownies, I believe they'll become a regular in my kitchen.

So here it is folks!

Cardamon Spiced Plum&Chocolate Brownies

Ingredients

1 Can of black beans - drained and rinsed
1 oz Almonds - toasted and ground
1 oz Hazelnuts - toasted and ground
2 oz Date caramel
2 oz Apple sauce
2 oz Agave syrup
3 tbsp Cocoa powder
2 tbsp Flax seed - mixed with 4 tbsp water
1 1/2 tsp Baking powder
Splash of vanilla extract
Pinch of salt
1 tsp Ground cardamon
2 Plums
Zest of half a lemon
Coconut oil - for greasing the tin
Dark chocolate - optional, for chocoholics to drizzle 


First of all, lay the hazelnuts and almonds on a baking tray and toast them in the oven, about 200 c for a few minutes, until the skins have come off the hazelnuts and the almonds are golden inside.
Now grind them up to fine crumbs and set aside.
Drain the can of beans, rinse them and then pop them in your favourite mixing bowl. Use a hand blender to blend them until they're smooth.
Now stir in the cocoa powder, baking powder and salt. The mixture will be quite thick, don't panic!
Now add the apple sauce, date caramel, flax seed, vanilla extract and agave syrup. Give it a good stir, the mixture should loosen up now.
Stir in the ground cardamon and lemon zest and then the ground nuts. Mix it up well so that everything is combined into a chocolatey, gooey batter.
Use a little coconut oil to grease a deep muffin pan, I then dusted it with cocoa powder to make sure they didn't stick.

Slice the plums in half and remove the stone. I then sliced them again so that I had 8 slices from 2 plums. If you wanted you could use 4 plums and use a whole half for each brownie, if you like it extra plum-y!
Fill each muffin whole to just over half way with the brownie mixture, and then a piece of plum into the batter.

Bake them in the oven at 175 c for about 50 minutes - 1 hour. Test them with a cake tester around the sides, but don't worry if the bit beneath the plum is still a bit gooey, because that'll firm up as they cool. 


Leave them to cool completely before taking them out of the pan.


Once cooled, I melted some dark chocolate and drizzled it over the brownies, for extra chocolatey goodness.


These brownies are so soft and the juicy plums make them so good you'll want to eat them all! It's something about fruit and chocolate that just works, the plums make these brownies refreshing and you don't get that I-ate-too-much-chocolate-now-I-feel-a-bit-sick feeling after eating the whole batch.


Enjoy with a cuppa chamomile tea.
Happy baking! x